Hi Gorgeous! This week on the blog we’re going to show you how you can use May's subscription to create fun designs. First, let's talk about what was included for this daisy themed box. This month we gave you STICKERS galore! With a 4 pack of Fabulous Planner stickers, a pack of die cuts and a handy mini book of stickers, we're certain you'll have enough to last you all month long (and then some)! Also included in this box are a set of double ended pastel markers and the cutest daisy pen. Summer is going to be here before you know it, so toss your hair up in a cute messy bun with the scrunchie we sent your way! To wrap this box up, we included a yellow translucent post it pad, an adorable daisy bookmark and a beautiful roll of clear backed washi tape.

Today we’re gonna focus in two products from the box, the daisy pen and the marker set. We’re going to use these to create some fun doodles and try out hand lettering. *Disclaimer* I am still very new to hand lettering so my form isn't perfect, but I think it's great to still be able to share and teach you all what I've learned so far. There are so many different styles and fonts for hand lettering, so I picked one that is easily achievable with the thicker, angled tip side of these markers.

One of the biggest things to remember with hand lettering is that you want to think of this as a drawing you are creating versus writing. Slow and steady will give you best results. With hand lettering, you have two fundamental motions, upstrokes and downstrokes. Upstrokes should have little to no pressure on the marker. If you find you are struggling to get the lines thin, make sure you are picking the marker up in between strokes and you can also adjust how you are holding the marker so you are only drawing with the very tip of the angle. Downstrokes should have a fair amount of pressure, the more pressure the thicker the line will be. Keep in mind, these are markers and not brush pens, so don't go TOO firm with the pressure.
Below you'll see the type of hand lettering you can achieve using these rules, as well as, a break down of the strokes for 'A'. I highly suggest practicing each letter a few times, especially those 'S'! Take these strokes slow and be conscious of wether you drawing an up or down stroke so you can have the best accuracy. Again, I'm still learning, so I'll be the first to admit, my 'S' still needs a lot of help, but I'm not going to let that stop me from creating and enjoying this skill!

Next up, the doodle portion of the design. Pick up the daisy pen and flick it around like a magical fairy wand (oh was that only me?). Now you're ready to doodle. I don't think this requires a lot of explanation. The most important part is to keep it simple and let it be imperfect. Personally, I think the funky and slightly off bits add so much more character. Just have fun and see what comes naturally to you. Here are a few example of some super easy one anyone can do.

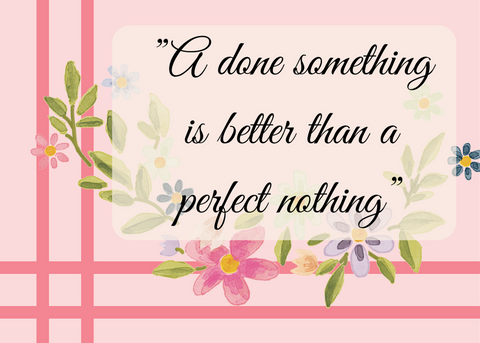
Here’s the super fun part, we’re gonna bring the two together. Begin with the hand lettering. Keep in mind what you're creating this on, if you're using blank or drawing paper, don't be afraid to bring out a pencil and ruler to sketch out where you plan on putting your design and letters. I actually love to do this in my bullet journal or grid section of my planner. It really helps with scaling out the design. In the example shown below, you'll see I wrote several words, but start with whatever you're comfortable with. When I first started, I typically liked to pick one word that embodied my mantra for the week. Next, frame your hand lettering with some of the doodles you practiced. I made a curved floral vine and added sets of flowers at the top. Last, add some final embellishments and doodles.

And there you have it, your own custom little design! Now that wasn't too hard, right?! As always, we’d love to see what you create with this box, so don’t forget to tag us on Instagram, Facebook and Tiktok. If you aren't already subscribed to our monthly box, CLICK HERE sign up ... here's a sneak peak at the upcoming theme.

XOXO,
The Fabulous Planner


